Choosing upgrades
Your first weapon upgrade point arrives at level 2. Choose a weapon line for the work you want to do: gathering, hunting zombies or fighting players. That choice lasts until respawn.
First points
Section titled “First points”Upgrades follow your chosen item in order. Replacing the  Stick closes the other
starting weapon choices. Saving points does not let you skip earlier tiers.
Stick closes the other
starting weapon choices. Saving points does not let you skip earlier tiers.
- At level 2, find the offers under Choose next upgrade. On touch controls, open Upgrades to see the choices.
- Compare the weapon lines below before selecting. Later weapon points at levels 7 and 9 advance the same line.
- Spend your first structure point at level 3 separately. Weapon, secondary and structure points have separate balances.
Weapons
Section titled “Weapons”The table compares the starting upgrades’ base damage per hit and attack rates.
| Weapon | Structure damage | Zombie damage | Player damage | Attacks per second |
|---|---|---|---|---|
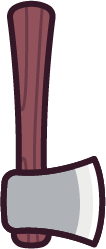 Basic Axe Basic Axe |
13.3 | 6.67 | 3.33 | 1.5 |
 Basic Sword Basic Sword |
2.5 | 12.5 | 5 | 2 |
 Basic Spear Basic Spear |
3.33 | 6.67 | 13.3 | 1.5 |
 Basic Daggers Basic Daggers |
1.33 | 3.33 | 2.5 | 6 |
Axes deal more resource and structure damage per hit than the other starting upgrades. Every 3 swings, damage is multiplied by 2. Missed swings count toward that bonus.
Swords deal more zombie damage per ordinary hit than the other starting upgrades. A kill repeats the hit against targets caught by the same attack.
Spears reach farther forward than swords and deal more player damage per hit
than the other starting upgrades. Hits on surviving enemy players apply  Slowed
for 2.5 seconds. Repeated hits stack.
Slowed
for 2.5 seconds. Repeated hits stack.
Daggers attack faster than the other weapon lines. Holding them lets you move at 110 % of normal speed. A kill raises that to 130 % for 3 seconds while held. Switching items ends that kill bonus.
Secondary
Section titled “Secondary”At level 5, choose a shield or bow in the secondary tree. Each choice closes the other line for the life; later secondary points at levels 11 and 14 advance the chosen line.
| Choice | Benefit | Resource use |
|---|---|---|
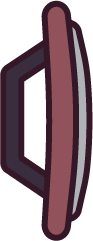 Basic Shield Basic Shield |
40 % less melee damage and 65 % less projectile damage when blocked | No ammunition |
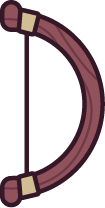 Basic Bow Basic Bow |
6 player damage per arrow at 1.5 arrows per second |  2 wood per arrow 2 wood per arrow |
Equip the shield and face incoming attacks to block them. The bow gives you a ranged attack and spends resources per arrow. Both choices move you at 70 % of normal speed while held.
The structure trees share a point balance. At level
3, the immediate choices are the wall and spike trees; saving that point lets you
spend it on another eligible tree later. The 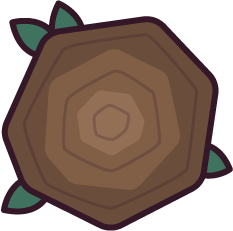 Wooden Wall and
the
Wooden Wall and
the 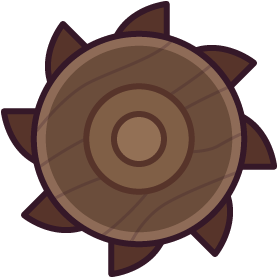 Wooden Miner are starter items, so neither needs an upgrade point before
placement.
Wooden Miner are starter items, so neither needs an upgrade point before
placement.
| Pick | Minimum level | Benefit | Cost per placement |
|---|---|---|---|
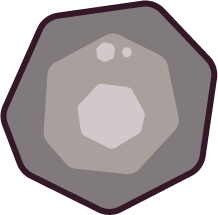 Stone Wall Stone Wall |
3 | Wall health increases from 350 to 700 | 50 wood,  100 stone 100 stone |
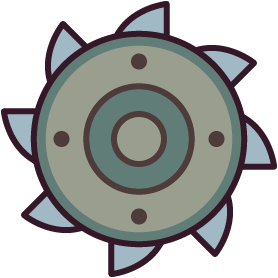 Stone Miner Stone Miner |
4 | Gold income increases from  2/s gold to 4/s gold away from a gold mine 2/s gold to 4/s gold away from a gold mine |
10 wood, 20 stone |
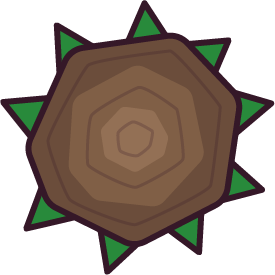 Wooden Spike Wooden Spike |
3 | 3 damage per hit against enemy players on contact | 20 wood |
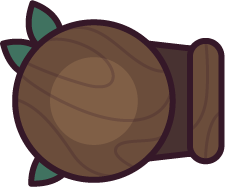 Wooden Turret Wooden Turret |
4 | 8 damage per arrow against enemy players | 50 wood |
Choosing a wall does not close the miner, spike or turret tree, but each uses the same structure points. Miners produce gold only while you are alive.
Within the Pad and Other trees, selecting an item closes its alternatives for the life.
| Tree | Minimum level | Mutually exclusive choices |
|---|---|---|
| Pad | 8 |  Repair Pad, Repair Pad,  Health Pad, Health Pad, 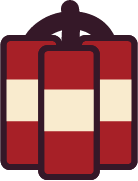 TNT, TNT,  Landmine Landmine |
| Other | 4 |  Anti Structure Pad, Anti Structure Pad,  Speed Boost, Speed Boost,  Honeycomb Honeycomb |
Choose the Repair Pad to heal nearby allied structures, except itself and Landmines, or the Health Pad to heal nearby allied players. Choosing either also closes TNT and Landmine; another structure point cannot combine them.
Respawn
Section titled “Respawn”Unspent points accumulate during your life. Death resets your points and choices, so saving a point does not preserve it across respawn. You keep 30 % of total experience, regain the levels it supports, and receive their point awards again. You can choose another weapon line once you have a weapon point.
Next steps
Section titled “Next steps”Use the weapon tree to plan later picks and the linked weapon family pages for tier comparisons. For structure planning, see base building and building limits.