Base building
For players building around their production, this guide covers walls, defenses and support
structures. Put barriers between attackers and your  miners,
then add defenses as you earn upgrade points.
miners,
then add defenses as you earn upgrade points.
- Choose clear ground. Resources, gifts and structures block placement. Players
and
 zombies do not.
 - Face the intended placement, select a
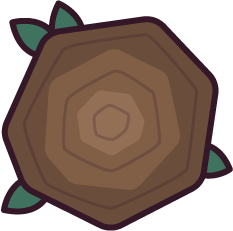 Wooden Wall, and place it with
Use item (left click by default). Each Wooden Wall costs
Wooden Wall, and place it with
Use item (left click by default). Each Wooden Wall costs  50 wood.
 - Place walls around the space you want to defend, leaving an entrance for returning and gathering. Put miners inside the perimeter. A Wooden Miner has 50 health compared with a Wooden Wall’s 350.
- Add a
 Wooden Spike on an approach to the base. Spikes damage enemy players
and zombies that touch them.
Wooden Spike on an approach to the base. Spikes damage enemy players
and zombies that touch them. - Put a
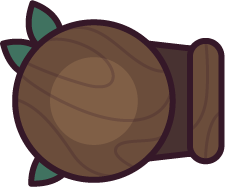 Wooden Turret behind the walls. Its 60 health is below
the Wooden Wall’s; leave room to reach damaged defenses.
Wooden Turret behind the walls. Its 60 health is below
the Wooden Wall’s; leave room to reach damaged defenses.
Switch away from a Wooden Wall while moving between placements. Holding it leaves you
at 50 % of normal speed, compared with the  Stick
at 100 % of normal speed. Other build items can have different
movement speeds.
Stick
at 100 % of normal speed. Other build items can have different
movement speeds.
Higher wall tiers add health without increasing your wall allowance. Upgrading changes the wall you can place; existing walls keep their tier. See the wall comparison for the full reference.
| Wall | Health | Placement cost |
|---|---|---|
| Wooden Wall | 350 | 50 wood |
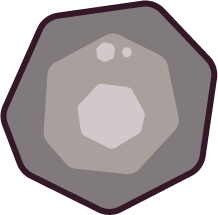 Stone Wall Stone Wall |
700 | 50 wood,  100 stone 100 stone |
 Reinforced Stone Wall Reinforced Stone Wall |
1400 |  100 gold, 50 wood, 100 stone 100 gold, 50 wood, 100 stone |
Defenses
Section titled “Defenses”Spikes damage enemy players, zombies and enemy structures other
than  Landmines. They do not hurt you or your
group. Each spike tier attacks
2 times per second while a target stays in contact; knockback can push a
target away.
Landmines. They do not hurt you or your
group. Each spike tier attacks
2 times per second while a target stays in contact; knockback can push a
target away.
Turrets target enemy players, zombies
and the  Reaper, but never players
who have
Reaper, but never players
who have  Spawn protection. They do not target structures. A Wooden Turret has a
8-unit targeting radius.
Spawn protection. They do not target structures. A Wooden Turret has a
8-unit targeting radius.
Upgrades
Section titled “Upgrades”The structure trees lock support choices for that life. At level
8, spend a structure upgrade point on a  Repair Pad
or a
Repair Pad
or a  Health Pad. You cannot select both.
Either choice also rules out
Health Pad. You cannot select both.
Either choice also rules out  TNT and Landmine for that life. Repair Pads
heal allied structures; Health Pads heal allied players.
TNT and Landmine for that life. Repair Pads
heal allied structures; Health Pads heal allied players.
| Choice | Placement cost | Health per pulse | Pulses per second | Radius | Maximum placed |
|---|---|---|---|---|---|
| Repair Pad | 30 wood |
3 | 1 | 4 units | 4 |
| Health Pad | 30 wood |
8 | 1 | 4 units | 4 |
The other support branch opens at level 4. Its choices are mutually exclusive for that life. Group members can make different choices and share their support effects.
| Choice | Placement cost | Effect | Maximum placed |
|---|---|---|---|
 Anti Structure Pad Anti Structure Pad |
40 wood |
Blocks enemy placement in a 6-unit radius when fully expanded | 2 |
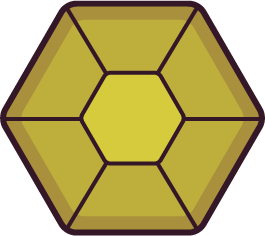 Honeycomb Honeycomb |
30 wood |
Slows enemy players and zombies that touch it | 8 |
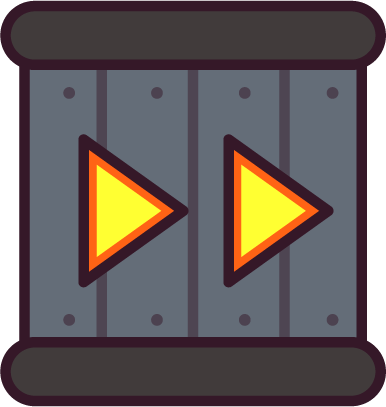 Speed Boost Speed Boost |
30 wood, 30 stone |
Pushes allies and enemies in its facing direction | 16 |
An Anti Structure Pad allows your own and allied placements where the ground is clear. It does
not block enemy Landmine placement. Honeycomb applies  Slowed on contact with
an enemy player or zombie; leaving removes that slow. Speed Boost pushes enemies as well as
allies, so account for both when choosing its direction. Holding its build item leaves you
at 100 % of normal speed.
Slowed on contact with
an enemy player or zombie; leaving removes that slow. Speed Boost pushes enemies as well as
allies, so account for both when choosing its direction. Holding its build item leaves you
at 100 % of normal speed.
Limits
Section titled “Limits”Building limits belong to each player, and tiers share their family’s allowance. Destroying a structure frees a place for its owner. Joining a group does not pool these allowances.
| Family | Maximum placed per player, across tiers |
|---|---|
| Walls | 32 |
| Spikes | 16 |
| Miners | 12 |
| Turrets | 4 |
Repairs
Section titled “Repairs”Walls, spikes, miners and turrets do not regenerate on their own. Place a Repair Pad so its area reaches the damaged defenses. It can heal those allied structures during combat, but cannot heal itself.
To clear a misplaced structure, hold the Damage own structures key (Shift by default) while hitting it with a melee weapon. Each hit removes 20% of maximum health. Group members can clear allied structures with the same control.
Your structures remain when you die and still count toward their limits. Miners pause while you are dead and resume after you respawn. Leaving the server removes your structures.
Next steps
Section titled “Next steps”- Structure trees for prerequisites and exclusive branches.
- Building for placement rules and structure limits.
- Miners for production and the gold mine bonus.